The Best Cherry Pie Recipe Ever
Thursday, 13 September 2018
Edit
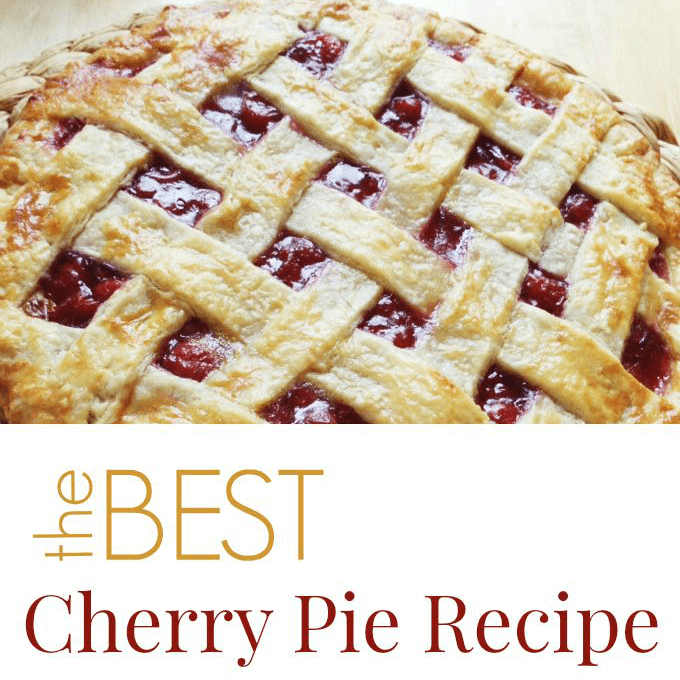
The Best Cherry Pie Recipe Ever
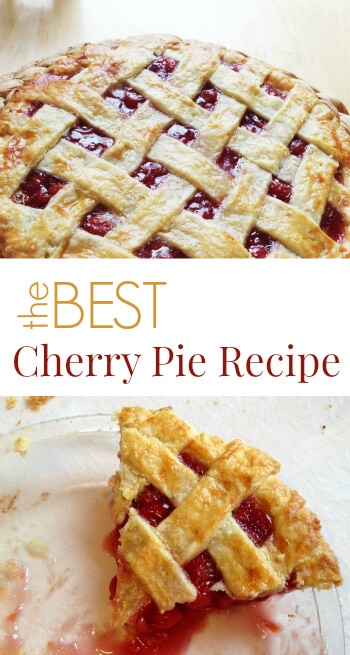
 There were a lot of yeses for my cherry pie recipe, so here it is!
Cherry pie is my all-time favorite dessert.
Chocolate is up there but doesn’t surpass a good homemade cherry pie in my mind. I used to request cherry pie instead of cake for my birthdays when I was growing up and still make it whenever I get the craving for the sweet-tart fruity goodness. Mmm…
I’ve fiddled with various recipes over the years and have finally settled on a version that is THE BEST CHERRY PIE RECIPE ever. Period. It is adapted from a combination of others—primarily from the recipes in The Pie and Pastry Bibleby Rose Levy Beranbaum and The Best Recipe by the Cook’s Illustrated folks.
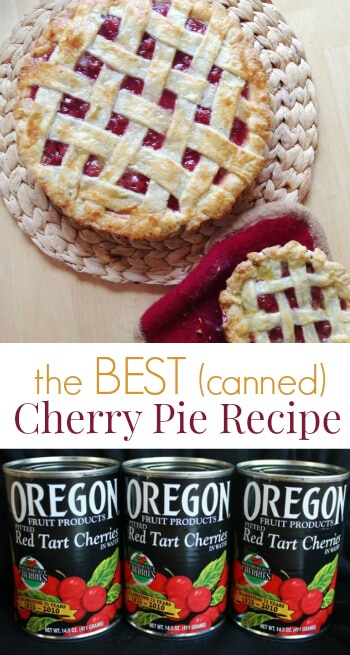
It’s a canned cherry pie recipe, as canned cherries are readily available year round and I don’t have a cherry tree in my backyard (even though I tried!). However, please note that this cherry pie recipe uses cherries canned in water NOT that dreadful canned cherry pie filling.
The Best Cherry Pie Recipe
First, make your pie crust
(I’ll forgive you if you want to buy yours premade, but it’s really not hard to make). Note: I used to use butter and Crisco and still think it makes the flakiest crust, but now use Earth Balance instead of Crisco just because it’s so much better for you. I buy it in sticks, like butter, from the natural foods store and keep them in the freezer. You can also make the pie crust with all butter and it turns out just fine.
Crust Ingredients
- 2 1/2 cups all purpose flour
- 1 teaspoon salt
- 2 tablespoons sugar
- 12 tablespoons unsalted butter, chilled
- 8 tablespoons Earth Balance, or comparable vegetable shortening, chilled (or simply use more butter)
- 8 tablespoons ice water
Crust Instructions
- Mix the flour, salt, and sugar in a food processor. Cut butter into smaller pieces and add to food processor. Pulse a few times. Cut Earth Balance into smaller pieces and add to food processor. Pulse a few more times, until butter and Earth Balance are the size of peas or smaller. Transfer to a large bowl. (Note: You can do all this with a pastry blender instead if you don’t have a food processor.)
- Sprinkle 3-4 tablespoons of ice water over the dough mixture at a time, mixing and pressing with a sturdy rubber spatula until the dough comes together. Divide into two and wrap each half in plastic wrap. (I usually dump the semi-formed dough onto plastic, wrap it up, then knead it with my hands a bit until it forms a ball, then flatten it somewhat into a disk.) Refrigerate until ready to use.
Next, make and assemble the cherry pie
Filling Ingredients
- 3 cans tart cherries in water (I buy Oregon Fruit Products Red Tart Cherries which are often with the canned fruit rather than in the baking aisle of the grocery store; you can also order them online)
- 4 tablespoons cornstarch
- 1 1/4 cups sugar
- 1/8 teaspoon salt
- scant 1/4 teaspoon almond extract
Filling and Pie Instructions
- Make the pie filling by mixing the 3 cans of cherries plus the juice from 1 1/2 cans with sugar, cornstarch, salt, and almond extract in a large, heavy-bottomed saucepan. Bring to a simmer and cook over medium-low heat for about 10 minutes, stirring regularly, or until the liquid is thick and bubbly (partially jelled). Set aside to cool.
- Preheat the oven to 425 degrees fahrenheit. Cover a cookie sheet with foil and place on a lower rack (to catch any potential drips).
- Sprinkle the counter with flour and roll out the bottom pie crust. Arrange in pie pan. Pour your cooled pie filling in the pan.
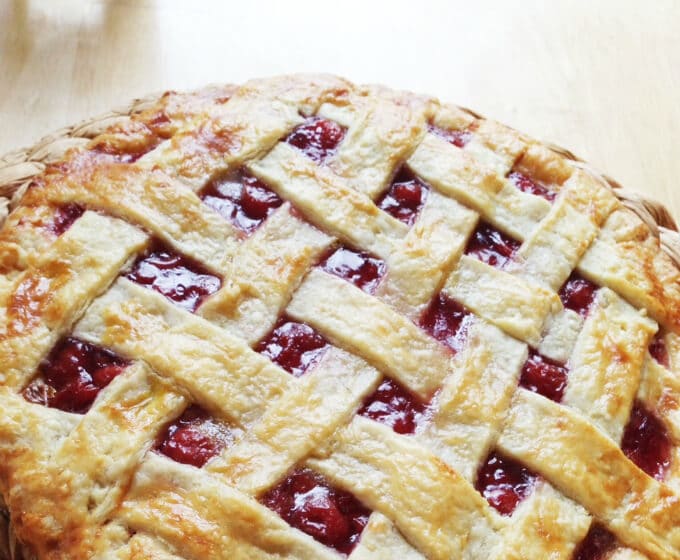
- Roll out the top crust. Use a sharp knife to cut the top crust into strips for a lattice crust or use a cookie cutter to make other designs. Either drape your top crust over the pie, if you used a cookie cutter design, or weave your traditional lattice crust (if you need instructions for weaving the lattice, here’s a YouTube video).
- Trim the edges of the top and bottom crust to 1/2 – 1 inch beyond the pie pan and then fold under. Either press around the perimeter with the tines of a fork or crimp it with your fingers.
- If desired (and I always do), brush the crust with a beaten egg white (or cream) and sprinkle sugar on top.
- Bake for 20 minutes at 425 degrees F then lower the oven temperature to 375 F and add a pie crust shield (or a foil tent with the center cut out) to protect the outer edges of the crust from burning. Bake for another 30-40 minutes, until the crust looks nicely browned and the juices bubble up thickly.
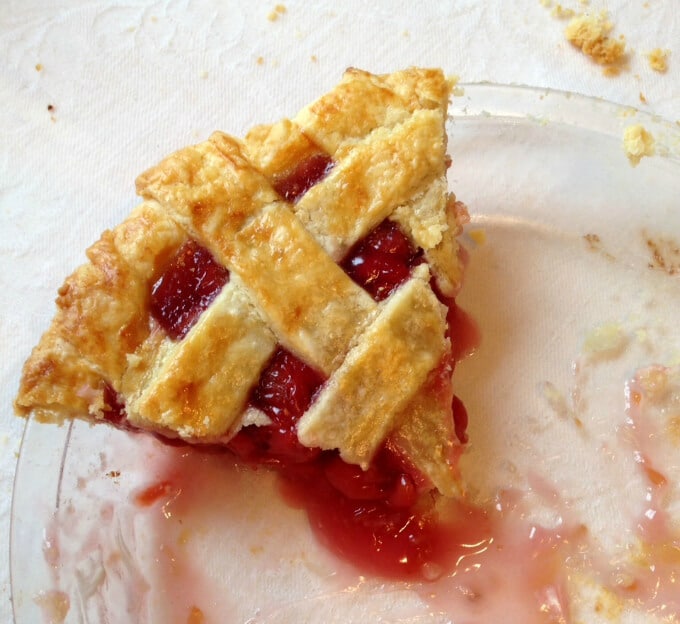
- Remove from the oven and let cool for 3 hours or so before eating. This is the hard part but it really helps to have the filling gel properly. Plus it looks and smells so nice sitting on the table!
- Eat and enjoy… This cherry pie is delicious with whipped cream or vanilla ice cream.
more recipes @ https://artfulparent.com